Correct installation begins with identifying the sticker type, checking the wall finish and planning the layout before any adhesive touches the surface. The steps below cover wall stickers, including simple peel-and-stick decals and designs supplied with transfer film. Always follow the instructions included with the specific product because materials and application methods differ.
Identify the application method
A printed peel-and-stick decal is normally positioned and pressed directly from its backing. A cut vinyl design may arrive between backing paper and transfer film so that separate letters or shapes remain aligned. Do not discard either layer until you know how the design is intended to transfer.
Prepare the basic tools
- Tape measure and level
- Low-tack painter's tape for temporary positioning
- Clean, soft cloth
- Plastic squeegee or a smooth plastic card with a protected edge
- A second person for a large or wide design
A sharp metal scraper is not an installation tool. It can cut the vinyl or mark the wall.
Check the wall finish
Confirm that the coating is fully cured according to the paint manufacturer's instructions. The required curing time varies by paint, humidity and room conditions, so a universal number of days is unreliable. Loose, chalky, damp or heavily textured surfaces can reduce contact with the adhesive. Test a sample in a hidden area when compatibility is uncertain.
Clean and dry the surface
Remove dust and grease with a cleaning method compatible with the wall finish. Avoid cleaners that leave polish, oil or silicone behind. Let the surface dry completely before installation and keep the decal flat at normal room conditions.
Measure and position the design
Measure both the decal and the usable wall area. Mark a centerline or upper edge lightly, then hold the design in place with temporary tape. Use a level rather than relying on the ceiling or floor, which may not be perfectly straight. Step back and inspect the position from the normal viewing distance.
Before choosing a size, use the wall decal measuring guide to compare the listed width and height with your usable wall area. For a multi-piece set, confirm whether the size describes the supplied sheet or the finished arrangement.
Apply a peel-and-stick decal
- Secure the planned position with temporary tape.
- Expose only a small section of adhesive at first.
- Press from the secured area toward the open edge using even, overlapping strokes.
- Remove more backing gradually while keeping the material relaxed.
- Avoid pulling or stretching the vinyl because it can distort the design and encourage edge lifting.
Apply a design with transfer film
Press the transfer film firmly against every letter or detail before removing the backing paper. A tape hinge can hold the layout in position while one section is applied. Peel the backing away slowly and check that the vinyl remains attached to the transfer layer. After pressing the design onto the wall, remove the transfer film slowly at a low angle while watching the small details.
Handle large designs carefully
Large decals are easier to control with two people. One person can maintain alignment while the other removes the backing and presses the material. Work in sections only when the product is designed for sectional installation. Do not cut through the design merely to make handling easier unless the supplied instructions permit it.
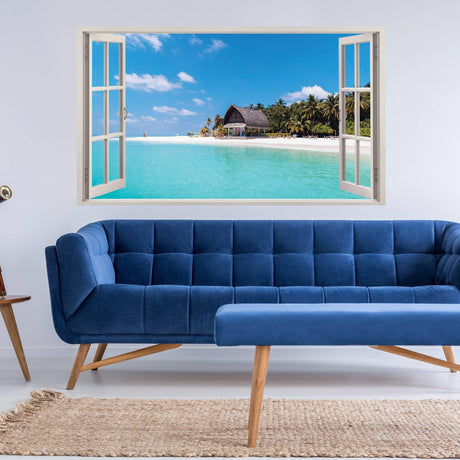
Planning a wide composition above furniture? Our large living-room decal size example shows how to check the complete footprint before installation.
Correct bubbles and lifted edges
Stop when a crease or large bubble begins to form. If the material permits repositioning, lift only the affected section and apply it again without stretching. Small trapped areas should be treated according to the product instructions. Piercing the vinyl can leave a visible mark and should not be the default method.
Final inspection
Check the alignment, edges and transferred details before removing tools or reference marks. Apply final pressure with a clean squeegee, concentrating on narrow points and corners. Do not promise a universal settling time; use the timing and aftercare stated for the specific material.
Frequently asked questions
Can a wall sticker be applied immediately after painting?
Apply it only after the coating is fully cured according to the paint manufacturer's guidance. Dry to the touch does not always mean fully cured.
What if the wall is textured?
Texture reduces the surface area available to the adhesive. Request material guidance or test a small sample before installing the complete design.
Should the backing paper be removed all at once?
Usually not. Gradual removal gives better control and reduces the chance of the adhesive folding onto itself.
Can a bubble be punctured with a needle?
Only when the product instructions specifically recommend it. Lifting and reapplying an affected section, when the material allows it, is generally easier to control.
Choose a decal with the right application method
Still selecting your design? Compare wall decals and wall stickers, then check the material, included pieces and installation instructions on the product page. Choose for your actual wall finish, not just the appearance of the motif.