Large wall decals can create a focal point in a living room, but size alone does not make a design suitable. Furniture, viewing distance, wall condition, artwork detail and installation method determine the result.
Ready to compare designs? Browse our wall decals and wall stickers, then use the written dimensions of your preferred design to check its fit. A product labeled large may still have different proportions from the space above your sofa.
Measure the usable wall
Exclude skirting, molding, switches, vents and furniture. Mark the proposed outer dimensions with removable tape and view them from the room entrance and main seating position.
Size example: checking the space above a sofa
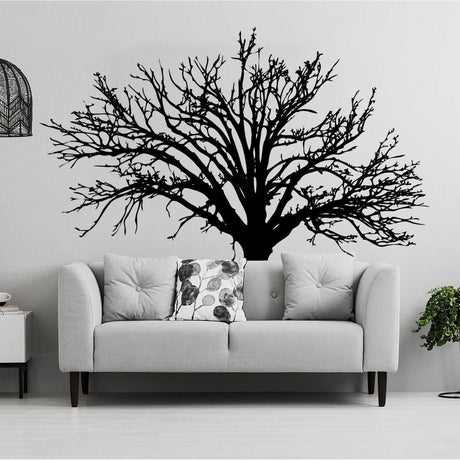
Suppose the usable area above your sofa is 72 inches wide and 42 inches high after allowing for lamps, trim and other obstacles. Compare both dimensions, written as width × height. These figures illustrate the method; they are not advertised product sizes.
| Example decal size | Fit in a 72 × 42-inch area |
|---|---|
| 60 × 36 inches | Fits. Centering it leaves 6 inches on each side and 3 inches above and below. |
| 72 × 48 inches | Does not fit. The width matches, but the design is 6 inches too tall. |
For the smaller example, the side gap is (72 − 60) ÷ 2 = 6 inches. Mark the full outline with low-tack painter’s tape suitable for your wall finish and view it from the sofa. For a multi-piece set, confirm whether the listed dimensions describe the supplied sheet or the finished arrangement. The wall decal measuring guide provides a fuller measurement checklist.
Plan around furniture
Keep important elements above sofa backs, cabinets and lamps. Decide whether the composition should align with furniture or with the full wall. Leave enough open space around the design.
Choose artwork for scale
Use original or licensed artwork. Detailed printing needs adequate resolution at final size. Fine text and thin lines may not remain clear from across the room.
Compare formats
A large single decal, separate elements and mural panels have different seams and installation methods. Confirm material, panel divisions, overlap or alignment requirements in the proof.
Inspect the wall
Texture, dust, fresh paint, loose coatings and moisture can affect adhesion. Test a sample when compatibility is uncertain.
Plan installation
Large graphics usually benefit from two installers. Establish level references, arrange sections in order and apply gradually without stretching the film.
Before you order
- Choose a design and confirm the exact width and height of the selected option.
- Check the number of supplied pieces, their suggested spacing and the installation method.
- Confirm that the material is suitable for your wall finish before purchasing.
Common mistakes to avoid
- Using the total wall width as the available space. Measure the area left after furniture, lamps, sockets and trim are considered.
- Choosing a size only because it is labelled “large”. Different products use different proportions; rely on the written dimensions.
- Forgetting viewing distance. A design that looks balanced close up can feel too dominant from the sofa or room entrance.
- Assuming a large decal arrives as one piece. Confirm whether the design is supplied as panels or separate elements and plan the installation accordingly.
- Installing without a dry layout. Mark the boundary and major alignment points before exposing adhesive.
Frequently asked questions
How large should the decal be?
Choose size from the usable area, furniture and viewing distance rather than a trend or room mockup.
Is one piece better than panels?
Not always. Access, material width, artwork and installer experience influence the best format.