Floral peel-and-stick art can create a temporary Mother's Day backdrop or a longer-term decorative feature. The result depends on the design rights, scale, wall condition and whether the exact product suits the intended surface.
Choose an original floral direction
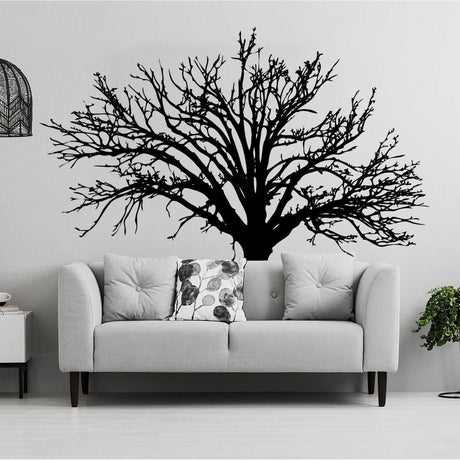
Botanical line art, wildflower arrangements, branches, leaves and personalized wording can create a thoughtful composition. Use original or licensed artwork rather than copying illustrations found online.
Select one focal location
A clear wall above a console, dining sideboard or photo area usually needs fewer elements than an entire room. Mark the proposed outline with painter's tape and check it from the entrance and camera position.
Coordinate the palette
Repeat two or three colors found in flowers, table settings or textiles. Soft green, blush, terracotta, cream and muted yellow can be combined without making the wall visually crowded. Use a sample when color matching is important.
Verify product and surface compatibility
Check material, adhesive, dimensions, included pieces and intended surface. The wall should be clean, dry, stable and fully cured. Test delicate or uncertain paint before installing the complete design.
Apply in layers
Arrange all pieces first. Install the largest branch or floral section, then add smaller leaves, flowers or words using consistent spacing. Avoid stretching thin material.
Set removal expectations
Peel slowly according to the instructions. Do not assume every decal can be reused or removed with the same result from every coating. Stop if the wall finish begins to lift.
Frequently asked questions
Can the design include a name or message?
Yes, when personalization is available. Confirm spelling, capitalization and final size before production.
Can floral decals be placed on textured paint?
Compatibility depends on the product and texture. A sample test is recommended.
Can the decor remain after Mother's Day?
Yes, if the design and product suit longer use. Follow the stated care instructions.