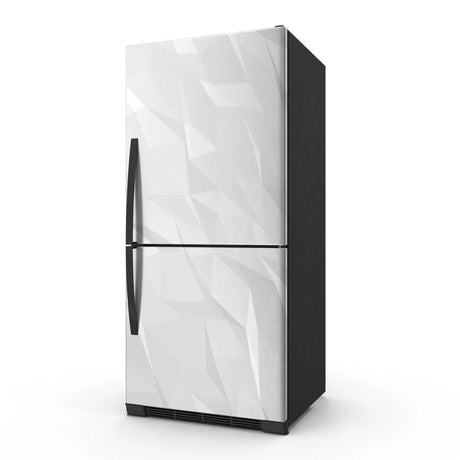
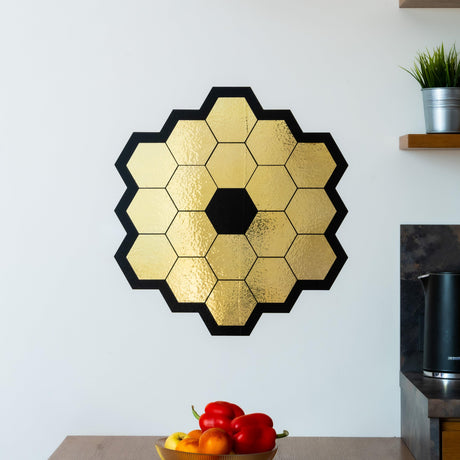
Minimalist kitchen wall decals can add one controlled visual detail without making the room feel crowded. Placement must account for heat, steam, grease, cleaning and the exact surface rather than style alone.
Choose one visual function
A decal can label a coffee area, frame a dining corner or add a small geometric or botanical accent. Keep the wording short and the palette connected to cabinets, worktops or textiles.
Plan the scale
Measure the clear area around shelves, sockets, switches and appliances. A small design can look lost on a wide wall, while a dense pattern may overwhelm a narrow backsplash. Preview the outline with painter's tape.
Avoid unsuitable exposure
Do not place a decal behind a hob, next to an open flame or where the product will receive unapproved heat, steam or frequent splashes. A general wall-decal description does not confirm suitability for these conditions.
Check the surface
Painted walls, tile, glass, laminate and cabinet fronts can require different adhesives. Grout lines, texture and cleaning residue may affect application. Use only surfaces listed for the product and test uncertain finishes.
Install on a clean, dry base
Follow the product's cleaning instructions and let the surface dry completely. Mark a level reference, position the main element first and smooth without stretching.
Use the stated care method
Do not assume every decal is washable or resistant to kitchen cleaners. Avoid abrasive tools and use only the care method approved for the exact material.
Frequently asked questions
Can a decal be installed behind a stove?
Only when the exact product is explicitly approved for that heat and cleaning exposure.
Can kitchen decals be applied to tile?
Compatibility depends on the material, tile finish and grout depth. Check the listing and test first.
Can a decal be cleaned with degreaser?
Only if that cleaner is allowed by the product care instructions.